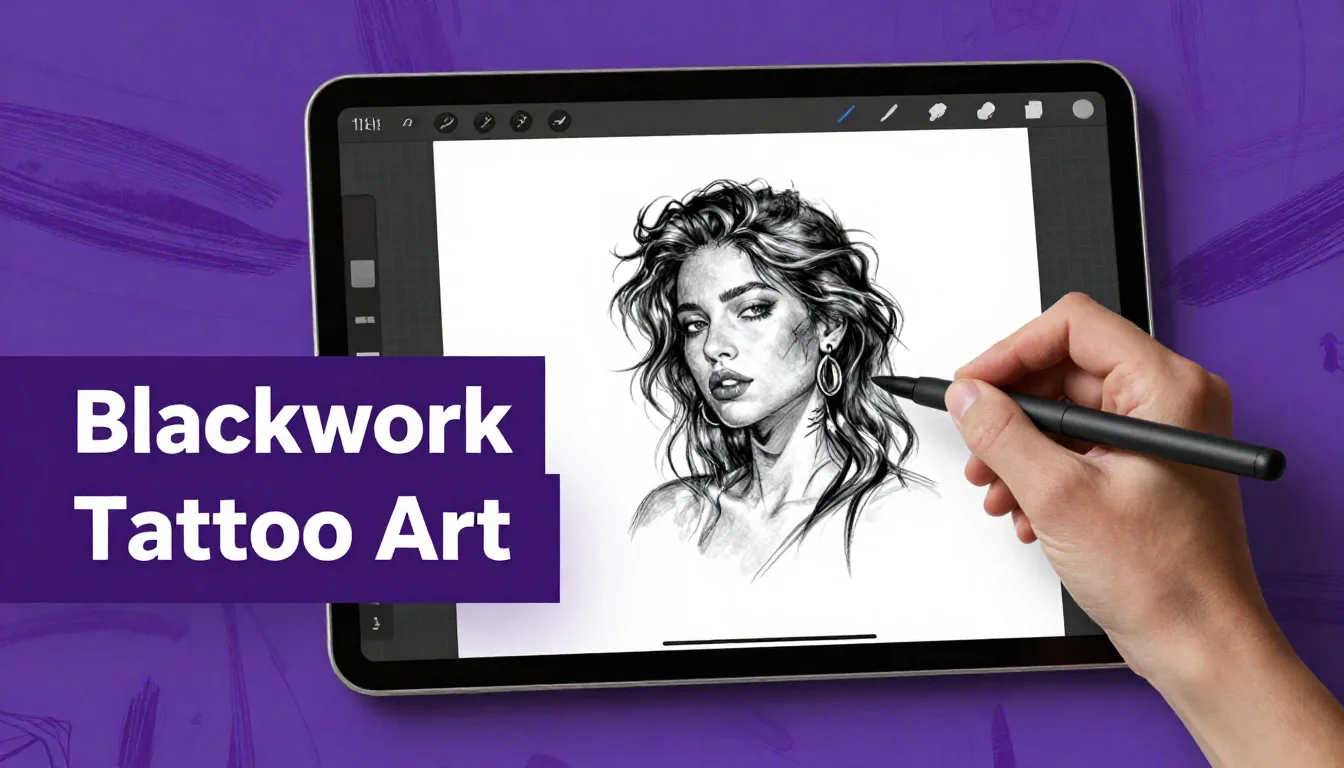
Blackwork tattoos rely entirely on bold lines, stark contrast, and intricate shading techniques to create striking, timeless designs. Transitioning this traditional medium into the digital space allows for unmatched precision, endless experimentation, and the ability to refine your designs without wasting paper. Whether you are an established artist looking to digitize your workflow or a beginner eager to learn, mastering blackwork tattoo art in Procreate is a game-changer for your portfolio.
Understanding Blackwork Tattoo Art
At its core, blackwork is characterized by the exclusive use of black ink. It encompasses a wide range of styles, from heavy geometric patterns and tribal designs to delicate illustrative pieces and dark surrealism. Because you don't rely on color theory to create depth or emotion, your linework, negative space, and shading techniques—such as stippling or hatching—must be flawless. A strong blackwork piece balances heavy saturated black areas with open skin breaks to ensure the tattoo breathes and ages well over time.
Setting Up Your Procreate Canvas for Tattoos
Before you draw a single line, establishing the correct canvas size is crucial. Unlike digital illustrations that might only live on screens, tattoo designs need to be printed clearly to create precise stencils.
Resolution and Dimensions
Always start your canvas at 300 DPI (Dots Per Inch). This ensures that when you print the design to run through a thermal copier, the lines remain crisp without pixelation. A standard canvas size of 8 x 10 inches or A4 (210 x 297 mm) works perfectly for most flash sheets and medium-sized custom pieces. Working on a white or slightly off-white background simulates the look of paper, but many artists prefer to drop in a photo of the client's skin on a lower layer to visualize how the design flows with the body's natural anatomy.
Essential Brushes for Blackwork
In a procreate tattoo tutorial, brush selection is everything. You don't need a massive library, but you do need tools that mimic the needles used in real tattooing.
Liners: A solid, opaque monoline brush is your best friend for outlining. It mimics a standard Round Liner (RL) grouping. You want a brush with streamlining turned up slightly to help pull smooth, continuous lines, but not so high that you lose control of the curve.
Stipple/Whip Shading Brushes: Blackwork heavily relies on pepper shading or whip shading to create gradients. Look for stipple brushes that scatter dots naturally based on pen pressure. This allows you to build up texture exactly how you would with a magnum or a larger liner needle on skin.
Solid Fillers: A dense, slightly textured brush is great for packing in solid black areas. It should lay down completely opaque pigment to plan out the heavy contrast areas of your design.
The Sketching Phase: Building Your Design
The foundation of any great tattoo digital art guide starts with the sketch. Create a new layer and choose a colored pencil brush—red or light blue is traditional, as it visually separates the sketch from your final black ink lines. Start with loose geometric shapes to block out the composition. Pay attention to the silhouette; a good blackwork tattoo should be readable from a distance.
Once your rough composition is locked in, lower the opacity of your sketch layer and create a new layer above it. Refine the drawing, adding in the specific details, establishing where the light source is, and mapping out the areas that will be solid black versus stippled. Don't rush this phase; the cleaner your refined sketch, the easier your final lining will be.
Inking Like a Pro: Line Weight and Stippling
Now comes the defining characteristic of blackwork: the ink. Hide your rough sketch, turn down the opacity of your refined sketch layer, and create your final ink layer. Use your monoline brush to pull your main outlines. In blackwork, line weight variation is key to establishing a hierarchy in the design. Use thicker lines for the outer perimeter and main subject matter, and thinner lines for internal details and background elements.
Mastering Stippling (Whip Shading)
Stippling creates the smooth transitions from solid black to skin tone. In Procreate, use a stipple brush and gently build up the dots, concentrating them heavily near the dark edges and letting them disperse as you move toward the light source. Alternatively, you can manually dot the canvas for ultimate control, though this takes significantly more time. Remember to leave adequate negative space—without skin breaks, the design will turn into an illegible black blob over the years.
Pro Tips
- Use the Symmetry Tool: For mandalas or geometric blackwork, turn on Procreate's Drawing Guide and enable Radial Symmetry to create perfectly balanced designs in a fraction of the time.
- Check Your Contrast: Periodically zoom out to view your design as a thumbnail. If the design loses readability, you may need to increase your solid blacks or widen your negative space.
- Organize Layers: Keep your linework, solid blacks, and stipple shading on separate layers. This makes it incredibly easy to isolate just the linework layer when it's time to print the stencil.
Exporting Your Design for Stencil Making
Once your blackwork design is complete, you need to prepare it for the stencil machine. You don't want to print the heavy shading, as the thermal copier will turn it into a messy smudge. Duplicate your canvas, and in the new file, hide your shading and solid black layers, leaving only the crisp outlines. If your lines are too thin to print well, you can duplicate the linework layer a few times and merge them to thicken the strokes slightly. Export the final stencil file as a high-quality JPEG or PDF.
FAQ
How do I prevent pixelated lines when drawing tattoos in Procreate?
Always ensure your canvas is set to at least 300 DPI before you start drawing. Additionally, avoid scaling your linework up significantly after drawing it, as this stretches the pixels. If you need a larger design, start with a larger canvas.
Can I use Procreate to show clients how a tattoo will look on their body?
Yes! Take a well-lit, straight-on photo of the client's body part. Import it into Procreate as your bottom layer. Then, place your tattoo design on a layer above it, set the blend mode to 'Multiply', and use the Transform tool (Warp or Mesh) to contour the design to their anatomy.
What is the best way to practice whip shading digitally?
Find a good stipple brush that responds to Apple Pencil tilt and pressure. Practice making quick, flicking motions—pressing hard at the start and lifting the pencil off the screen at the end of the stroke. Practice this on basic shapes like spheres and cylinders before applying it to complex designs.
Creating striking blackwork tattoo art in Procreate takes practice, an understanding of contrast, and the right digital tools. As you refine your digital tattooing workflow, having high-quality brushes that accurately replicate real needles makes a world of difference. To expand your arsenal and elevate your designs, be sure to check out the ProcreateTools app, where you can find an incredible selection of free brushes and premium sets designed specifically for professional tattoo artists.