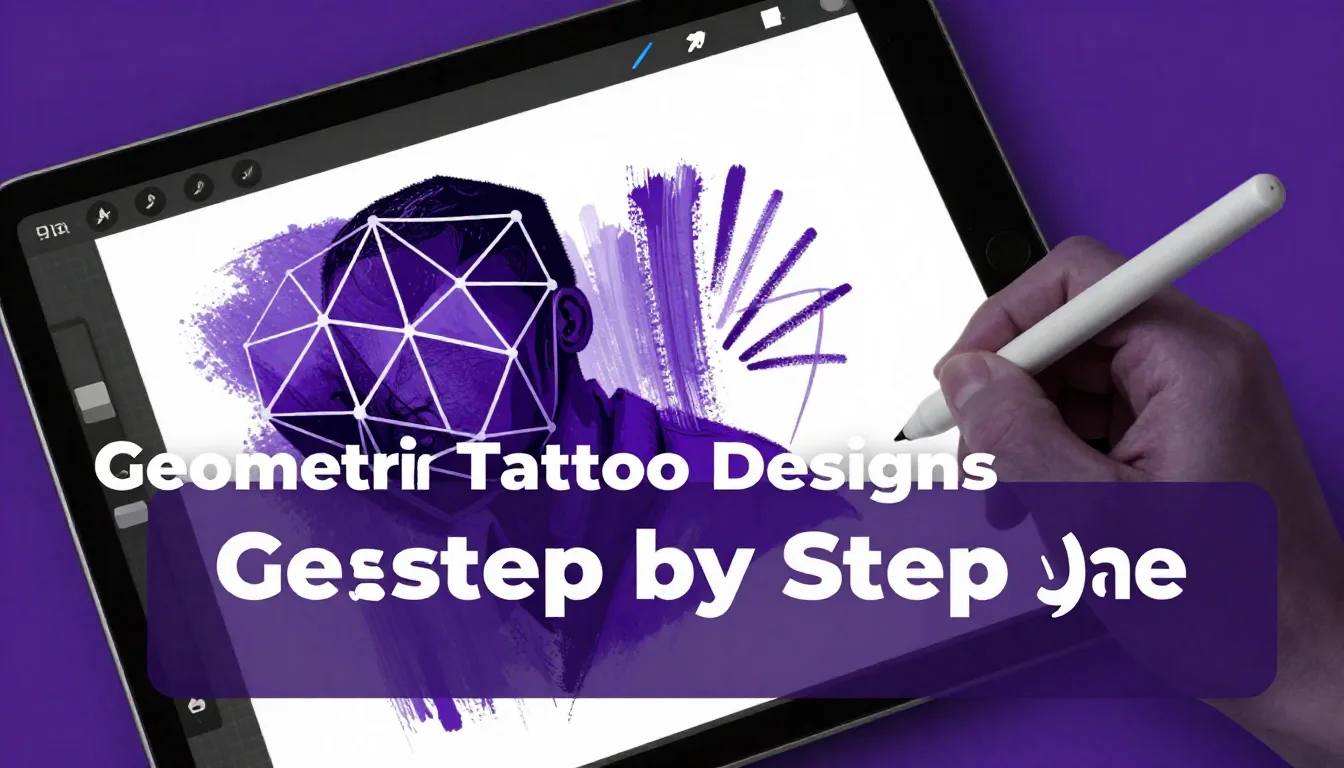
Geometric tattoos have surged in popularity, offering a perfect blend of mathematical precision and artistic expression. Whether you're an aspiring tattoo artist or an established professional transitioning to digital design, mastering geometric tattoo designs step by step in Procreate can revolutionize your workflow. This guide will walk you through creating flawless, intricate geometric patterns that look incredible on skin.
Setting Up Your Procreate Canvas for Tattoos
Before drawing a single line, establishing the right canvas is crucial for a successful procreate tattoo tutorial. Tattoo designs require high resolution to ensure crisp lines when printed for stenciling. Create a new canvas with dimensions of at least 8x10 inches at 300 DPI. This ensures that even the finest geometric details won't pixelate when you transfer them to thermal paper.
To keep your workspace organized, set up your layers early. Dedicate one layer for your rough sketch, another for your central axis or grid, and a final layer for your crisp, final linework. Keeping these elements separated makes edits seamless and non-destructive.
Utilizing Procreate's Drawing Guide
The secret to perfect geometric art lies in Procreate's built-in Drawing Guide. This tool is indispensable for any tattoo digital art guide focused on precision.
Activating Symmetry
For mandalas or balanced geometric shapes, the Symmetry tool is your best friend. Navigate to the Actions menu (the wrench icon), select Canvas, and toggle on 'Drawing Guide'. Tap 'Edit Drawing Guide' and choose 'Symmetry'. You can select Vertical, Horizontal, Quadrant, or Radial symmetry depending on your design's complexity. Radial symmetry is particularly powerful for complex mandalas, allowing you to draw one section while Procreate perfectly replicates it in a circle.
Using the 2D Grid and Isometric Guides
If your design relies heavily on overlapping triangles, cubes, or precise linework, the 2D Grid or Isometric guides are essential. The Isometric guide is fantastic for creating 3D geometric illusions, like impossible triangles or structured honeycombs. Adjust the grid size to match the scale of the tattoo you are designing.
Drafting the Geometric Framework
Start your geometric tattoo designs step by drafting the underlying framework. Choose a distinct, light color (like a non-photo blue or light red) to differentiate your sketch from the final black linework. Begin with your primary shapes—circles, triangles, or squares—anchoring them to the center of your canvas.
Don't worry about perfection in this phase; focus on composition and flow. Think about how the geometry will complement the natural curves of the body. A design meant for a forearm will need a different structure than a piece intended for a flat surface like the back.
Pro Tips for Crisp Geometry
- QuickShape is Magic: Draw a line, circle, or polygon and hold your Apple Pencil down at the end of the stroke. Procreate will automatically snap it into a perfect shape.
- Edit Shape: After QuickShape activates, tap 'Edit Shape' at the top of the screen to manipulate the nodes for exact placement.
- Brush Choice: Use a monoline brush with high streamlining (stabilization) for consistent line weight, mimicking the look of a traditional tattoo liner needle.
Refining and Inking the Final Design
Once your framework is established, create a new layer on top for your final ink. Select a solid black color and a reliable lining brush. If you're looking for the perfect digital needle, the ProcreateTools app offers an incredible selection of tattoo-specific brushes designed by industry professionals.
Mastering Line Weight
Geometric tattoos rely heavily on contrasting line weights to create depth and visual interest. Use a thicker line (like an 11RL equivalent) for the main structural outlines and primary shapes. Switch to a finer line (like a 3RL or 5RL) for the intricate interior details, stippling, and secondary shapes. This hierarchy prevents the design from looking flat or muddy when tattooed.
Adding Dotwork and Shading
Many geometric designs incorporate dotwork (stippling) or smooth whip shading to add dimension without cluttering the linework. Create a separate layer for your shading. Using a stipple brush, gently build up gradients within the geometric sections to create a sense of light and shadow. Remember that less is often more; negative space is a crucial element in geometric tattooing.
Creating the Stencil
The final step in your digital workflow is preparing the design for stenciling. Hide your sketch and grid layers, leaving only the final black linework and any necessary shading markers. If your design includes extensive shading, consider creating a separate line-only version specifically for the thermal printer, as heavy digital shading can print too dark and ruin the stencil.
Export your final image as a high-quality JPEG or PDF, ready to be sent to your stencil printer.
Frequently Asked Questions
How do I make my lines perfectly straight in Procreate?
Use the QuickShape feature. Draw your line and hold the Apple Pencil on the screen at the end of the stroke. The line will snap perfectly straight. You can then drag the end point to adjust its angle and length.
What brush is best for geometric tattoo designs?
A solid, opaque monoline brush is ideal for the structural linework because it mimics the consistent width of a tattoo needle. For shading, look for specialized stipple or whip shading brushes.
How can I test how the design will look on the body?
Take a clear, well-lit photograph of the client's body part. Import this photo into Procreate on a bottom layer. Place your finished design on a layer above it and set the blend mode to 'Multiply' to see how the geometry flows with the body's natural contours.
Creating flawless geometric tattoos requires patience, practice, and the right digital tools. By leveraging Procreate's powerful symmetry and grid features, you can design intricate, perfectly balanced artwork ready for the skin. To elevate your digital drafting even further, download the ProcreateTools app today and explore our extensive library of premium and free brushes, including specialized tattoo liners, stipple sets, and geometric stamps designed to speed up your workflow.