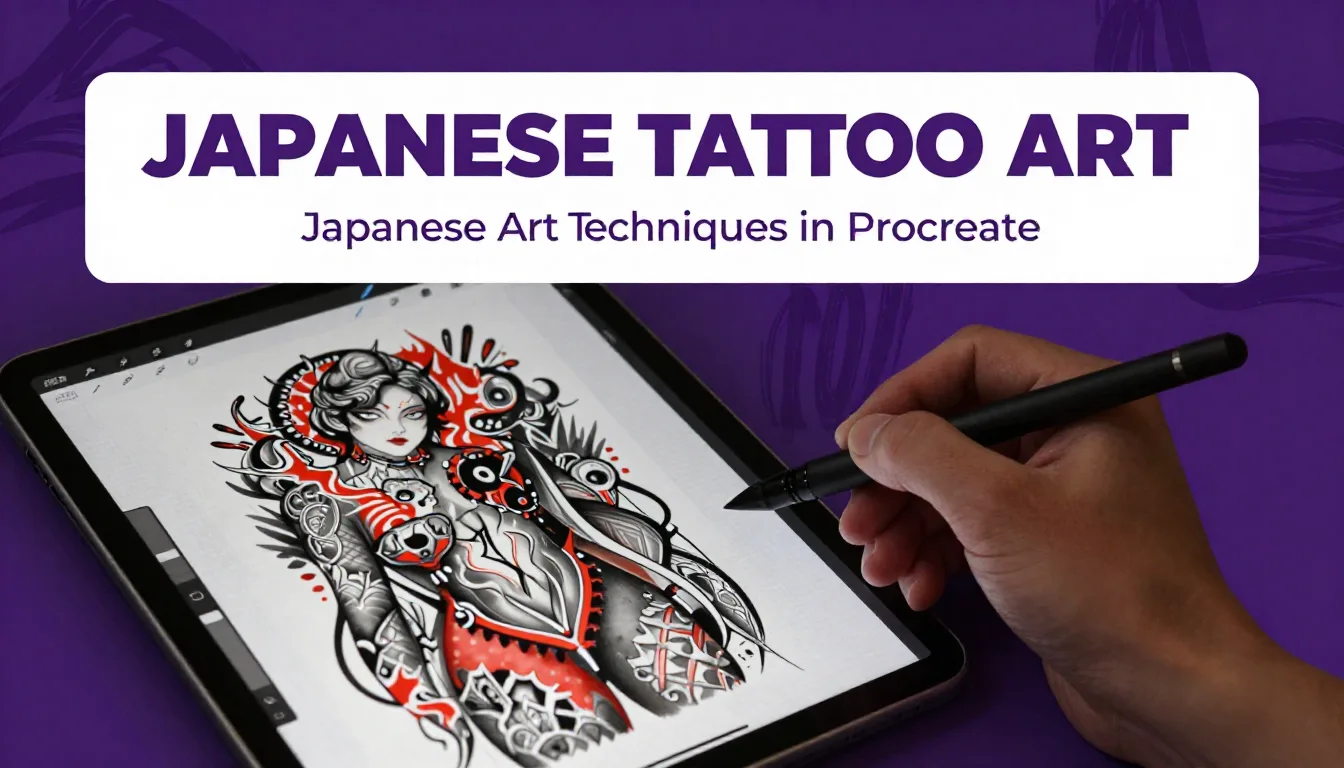
Translating the rich, dynamic history of traditional Japanese tattoos (Irezumi) into the digital realm opens up massive creative possibilities for modern artists. Whether you are mapping out a full-body conceptual piece or designing an intricate standalone flash design, mastering traditional japanese tattoo art techniques on your iPad will completely elevate your digital portfolio. Grab your Apple Pencil, because we are diving deep into the foundations of digital linework, whip shading, and composition to help you create authentic, powerful Irezumi right on your screen.
Understanding the Foundations of Irezumi
Before you even touch your digital canvas, it is crucial to understand the visual language of traditional Japanese tattoos. This style is built on strict rules of flow, contrast, and storytelling. It relies heavily on the balance between the primary subject and the background elements.
Key Motifs and Pairings
In Japanese tattooing, subjects are rarely chosen at random; they are deeply symbolic and paired according to traditional rules (Karajishi). For example, you will often see Koi fish paired with maple leaves (representing autumn and transformation) or dragons paired with chrysanthemums. Understanding these pairings is the first step in any comprehensive tattoo digital art guide. Take the time to study traditional references so your digital art respects the heritage of the style.
Mastering the Mikiri (Background)
The background—known as Mikiri—is what gives Japanese tattoos their heavy, unmistakable contrast. It consists of wind bars, water waves, finger waves, and rocks. In Procreate, you can draft your Mikiri on a separate layer beneath your main subject. This allows you to easily adjust the flow and framing of the background without disrupting your primary linework.
Setting Up Your Procreate Canvas for Tattoo Art
For any procreate tattoo tutorial, canvas setup is paramount. Tattoos require high-resolution files, especially if you plan to print your designs as stencils later. Always start with a canvas set to at least 300 DPI. A standard size of 11x14 inches or 8.5x11 inches works perfectly for flash sheets and stencils.
When starting a new project, utilize Procreate’s Reference Companion (found under Actions > Canvas > Reference). Import a classic Irezumi painting or a photo of a real tattoo placement (like an arm or a back). Having your reference floating right next to your canvas keeps your anatomy and proportions in check without constantly switching between apps.
Nailing the Linework (Sujibori)
The foundation of any Japanese tattoo is a bold, confident outline, historically known as Sujibori. In digital art, achieving that perfectly smooth, consistent line weight can be challenging if you have a shaky hand.
Utilizing Stroke Stabilization
Procreate’s stabilization settings are a lifesaver for digital tattooers. Go to your brush settings, navigate to the "Stabilization" tab, and dial up the "StreamLine" amount to around 30-50%. This will iron out any micro-jitters in your Apple Pencil strokes, giving you those sweeping, flawless curves required for dragon bodies and wind bars. Remember to use a solid, hard-edged monoline brush or a customized ink bleeder brush for a more organic, "tattooed" feel.
Mastering Digital Black Shading (Bokashi)
The smooth gradation from dense, opaque black to open skin is the hallmark of Japanese tattoo shading (Bokashi). Emulating this digitally requires a delicate touch and the right brush dynamics.
Digital Whip Shading Techniques
To replicate traditional whip shading, you want a brush that responds heavily to pressure and tilt. Start your stroke with firm pressure at the edge of your linework, then quickly flick your Apple Pencil outward while lifting off the screen. By setting your brush opacity to taper off alongside the pressure, you can create a seamless fade. If you want to refine the gradient, use the Smudge tool with a soft airbrush on a very low opacity to gently blend the harsh edges, keeping the darkest darks strictly near the lines to maintain that signature high contrast.
Pro Tips
- Use Alpha Lock for Shading: Once your base flat colors are laid down, turn on Alpha Lock (swipe right with two fingers on the layer). This ensures your shading stays perfectly inside the lines without needing extra cleanup.
- Organize with Layer Groups: Keep your linework, shading, background, and color layers in separate, clearly named folders. This is crucial when clients ask for minor adjustments.
- Test Stencil Readability: Toggle off your color and shading layers periodically to ensure your pure linework reads clearly as a tattoo stencil.
Adding Traditional Colors
While black and grey Irezumi is striking, traditional Japanese tattoos are famous for their bold, saturated colors. The classic palette is somewhat limited but incredibly effective: deep blacks, vibrant vermillion reds, mustard yellows, and rich greens.
Working with Clipping Masks
When applying color, never color directly on your linework or shading layers. Instead, create a new layer above your flat color base and set it as a "Clipping Mask." This allows you to experiment with different color variations—like swapping a blue dragon for a green one—without permanently altering your base design. It is highly recommended to explore the curated palettes inside the ProcreateTools app, which features pre-built color swatches specifically designed to mimic traditional tattoo inks.
Speeding Up Your Workflow
Time is money, especially for working tattoo artists using the iPad as a daily driver. Building a reliable library of stamps, brushes, and grids will cut your drawing time in half. Instead of manually drawing every single scale on a koi fish or a dragon, you can use specialized scale grid brushes to map out the pattern, then trace over them to give them an organic, hand-drawn feel. Integrating high-quality assets from the ProcreateTools app into your workflow allows you to focus on the overall composition rather than getting bogged down in repetitive background elements.
Frequently Asked Questions
How do I make digital whip shading look real?
To make digital whip shading look authentic, use a stipple or pepper-shading brush with high pressure sensitivity. Start with heavy pressure at the base of your line and quickly flick your wrist outward, lifting the pencil to create a textured, fading dot pattern that mimics a real tattoo machine needle grouping.
What canvas size is best for tattoo stencils?
Always work at a minimum of 300 DPI. A standard canvas size of 8.5 x 11 inches is perfect because it matches standard printer paper, ensuring your design prints at the exact size you drew it without any pixelation or scaling issues.
Can I use Procreate to design full tattoo sleeves?
Absolutely! Many artists use Procreate’s 3D model feature to paint directly onto a 3D arm or leg. Alternatively, you can take a high-resolution, well-lit photograph of your client's arm, lower the opacity of the photo layer, and draw your design directly over their anatomy to ensure the flow matches their muscles.
Why do my tattoo lines look pixelated in Procreate?
Pixelated lines usually mean your canvas resolution is too low. Always ensure your DPI is set to 300 or higher before starting. Additionally, check your brush's "Shape" settings; a brush with too much scatter or a low-resolution shape source can cause jagged edges.
Mastering Japanese tattoo art techniques on the iPad takes patience, but by respecting the traditional rules and leveraging modern software, your designs will carry incredible impact. Remember, the tools you use can make a massive difference in your efficiency and final output. To jumpstart your digital Irezumi journey, be sure to download the ProcreateTools app today to access an amazing library of free brushes, authentic color palettes, and specialized time-saving stamps designed specifically for tattoo artists.