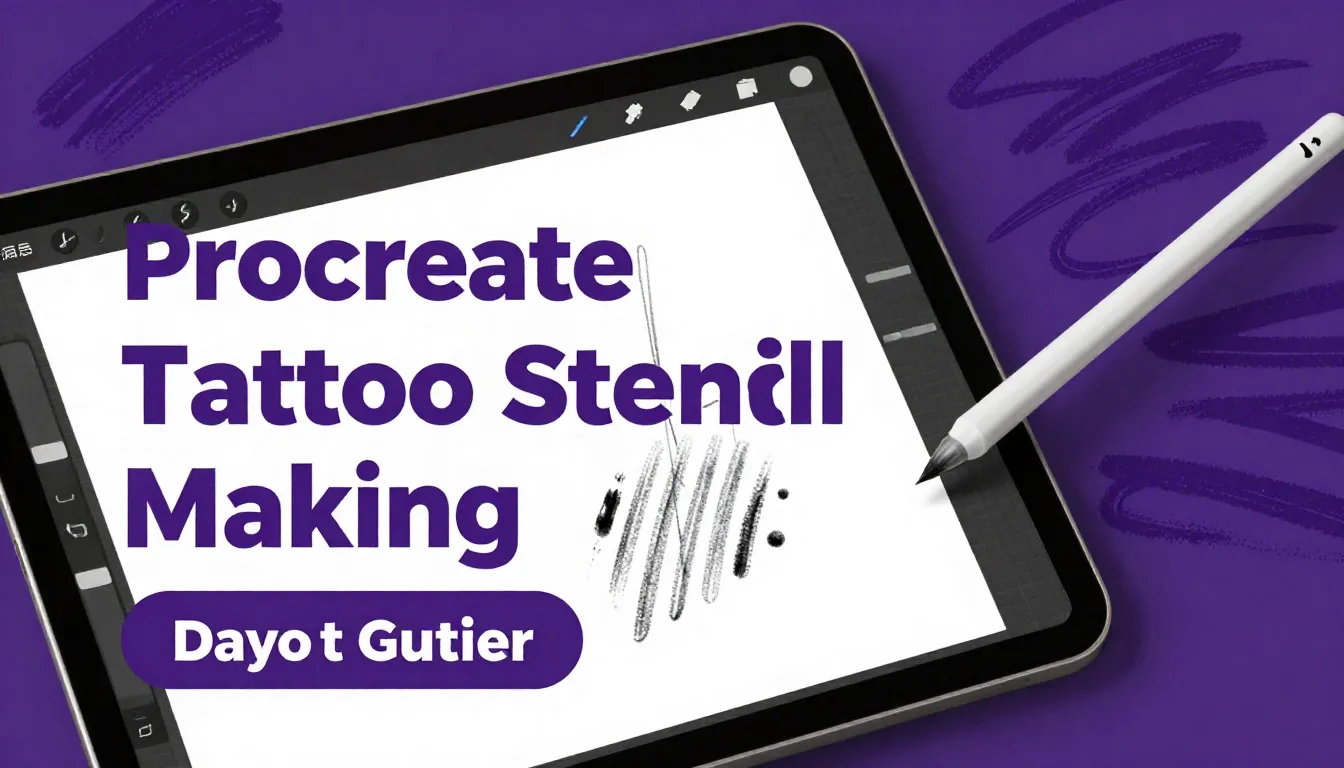
Transforming your iPad into a professional tattoo design station starts with mastering the perfect stencil. Whether you are transitioning from paper sketching or looking to streamline your digital workflow, creating clean, precise line work is essential for every tattoo artist. This comprehensive tattoo digital art guide will walk you through the exact steps to create flawless, shop-ready stencils directly on your iPad.
Setting Up Your Procreate Canvas for Tattoos
The foundation of any great procreate tattoo stencil making process is the canvas setup. Start by creating a custom canvas that matches the physical dimensions of your stencil paper. A standard A4 size (8.5 x 11 inches) at 300 DPI is the industry sweet spot. This high resolution ensures your line work remains crisp and prints without pixelation, which is crucial for intricate tattoos.
To set this up, tap the '+' icon in the Procreate gallery, select the folder icon to create a custom canvas, and enter your dimensions in inches. Always make sure your color profile is set to CMYK if you plan on printing directly from the iPad, though RGB is fine if you'll be converting it later on your computer.
Choosing the Right Brushes for Stencil Lines
The key to a legible stencil is consistency in line weight. You don't want soft edges or varying opacities when the stencil hits the skin. The default 'Technical Pen' in the Inking category is a fantastic starting point. It offers solid, opaque lines with minimal pressure sensitivity on the opacity, ensuring your lines are dark and clear.
To optimize the Technical Pen for stencils, tap the brush to open the Brush Studio. Under the 'Apple Pencil' settings, turn the Opacity slider all the way down to zero. This guarantees that no matter how lightly you press, the line will be solid black. You can adjust the size pressure to suit your style, but for true stencil work, uniform line thickness is often preferred.
Pro Tips
- Use distinct colors for complex designs: Use red for mapping out shading or secondary elements, and keep black strictly for the hard outlines.
- Flip your canvas frequently: Just like traditional drawing, flipping your canvas horizontally helps spot anatomical errors or balance issues in your tattoo design.
- Organize your layers: Keep your rough sketch, refined sketch, and final stencil on separate, clearly named layers.
The Sketching and Refining Process
Every excellent procreate tattoo tutorial emphasizes the importance of the drafting phase. Don't rush straight into harsh black lines. Start with a rough sketch using a pencil brush in a light blue or red color. This mimics the traditional non-photo blue pencil technique and keeps your workspace visually organized.
Once your rough concept is down, lower the opacity of that layer to around 30%. Create a new layer above it and begin refining the shapes. This is where you finalize the anatomy, flow, and composition. Take your time here; the cleaner this refined sketch is, the easier the final stencil tracing will be.
Creating the Final Stencil Line Art
Now comes the critical step of generating the actual stencil. Create a new layer on top of your refined sketch and select your modified Technical Pen. Use pure black for this layer. Trace over your refined sketch, focusing purely on the lines you actually need to tattoo.
Remember, a stencil is a roadmap, not a finished illustration. Avoid excessive shading or unnecessary details that will only muddy the stencil on the skin. Use solid lines for the main outlines, and consider using dashed or dotted lines to indicate areas of soft shading or color transitions. This clear visual hierarchy makes the tattooing process much smoother.
Preparing for Print and Exporting
Before you export, hide all layers except your final black line art layer and the white background layer. Take a final look to ensure there are no stray marks or disconnected lines. For the best printing results, export your artwork as a high-quality PDF or TIFF file. These formats preserve the crispness of your line work better than a standard JPEG.
If you use a thermal copier, you might want to increase the contrast of your lines. You can do this by duplicating your final line art layer a few times and merging them together, making the black even denser before printing.
FAQ: Procreate Tattoo Stencils
What DPI should I use for tattoo stencils in Procreate?
Always use a minimum of 300 DPI (Dots Per Inch). This ensures your lines are sharp and won't look pixelated or blurry when printed on stencil paper.
How do I stop my lines from being pixelated when I zoom in?
Pixelation usually means your canvas size or DPI is too low. Ensure you start with at least an 8.5x11 inch canvas at 300 DPI. Also, use hard-edged brushes like the Technical Pen rather than soft airbrushes for the final stencil lines.
Can I print directly from my iPad to a stencil printer?
Yes, many modern wireless thermal stencil printers connect directly to the iPad via Bluetooth or Wi-Fi. Alternatively, you can AirPrint to a standard printer and use a traditional thermal copier to transfer the design.
Mastering digital stencils is a game-changer for any tattoo artist's workflow, saving time and allowing for infinite adjustments before the ink ever touches the skin. To further elevate your digital art process, be sure to explore the ProcreateTools app, where you can find an incredible selection of free brushes, custom stamps, and specialized toolsets designed specifically for tattoo artists and illustrators.