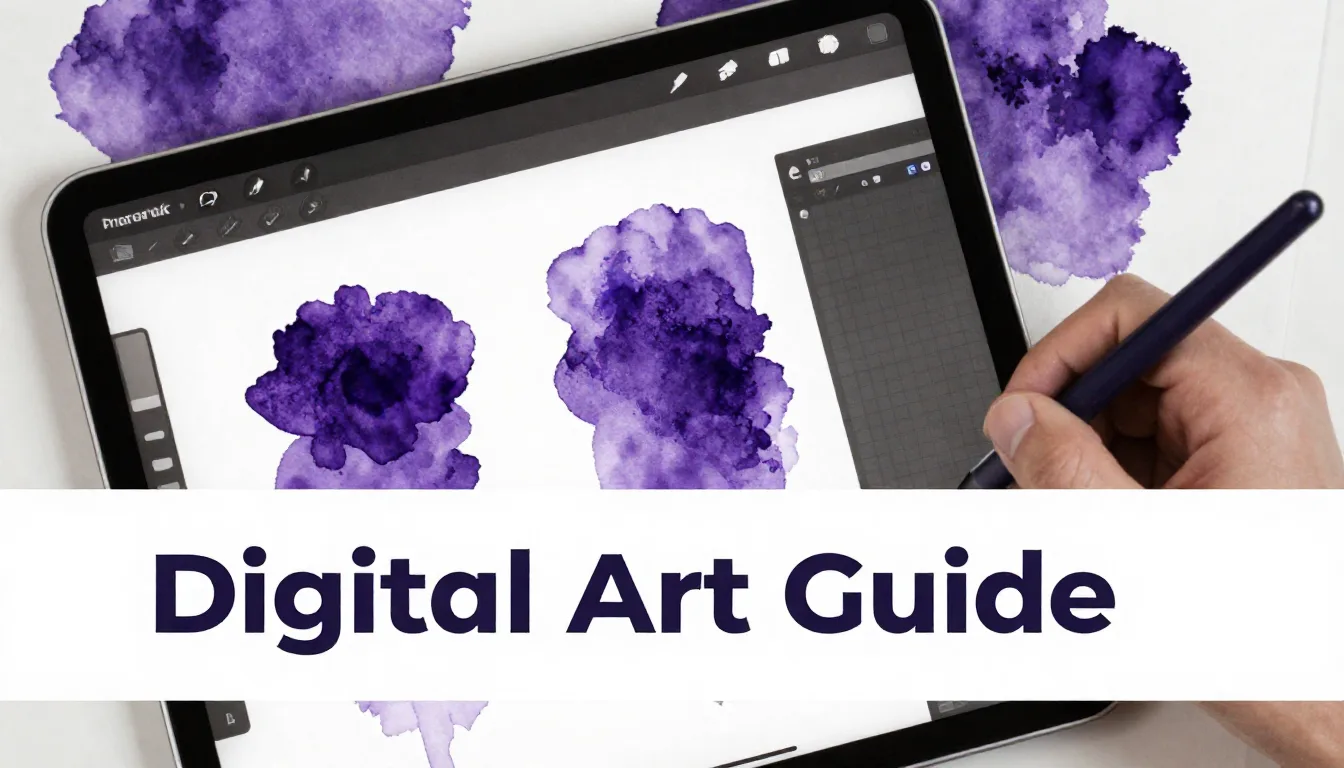
The delicate, fluid beauty of watercolor tattoos has taken the ink world by storm, and recreating this ethereal look on your iPad is incredibly rewarding. Mastering the watercolor tattoo style digital art technique allows you to design stunning, blendable concepts without the permanence of a needle, making it the perfect playground for tattoo artists and digital illustrators alike. Grab your Apple Pencil, because we are diving deep into the digital inkwell.
Setting Up Your Procreate Canvas for Tattoo Design
Before you lay down a single drop of digital paint, your foundation needs to be solid. A successful procreate tattoo tutorial starts with the right canvas settings. For print-ready tattoo stencils and high-quality portfolio pieces, always set your canvas to at least 300 DPI. A standard size of 8x10 inches or 11x14 inches provides plenty of room for intricate details and expansive watercolor washes.
Choosing the Right Background
Watercolor thrives on texture. While a stark white digital background is fine for sketching, it kills the organic vibe of watercolor. Import a high-resolution paper texture and set its blend mode to Multiply. Place this layer at the very top of your layer stack. This ensures every brushstroke you make underneath interacts with the "paper," giving your tattoo digital art guide that authentic, tactile feel.
Building the Foundation: Linework vs. No Linework
Watercolor tattoos generally fall into two categories: those anchored by crisp black linework and those that are purely color-driven. If you are designing for a real-world tattoo, having some structural linework (often fine-line or whip-shaded) helps the tattoo age better as the watercolor edges naturally soften over time.
Create a dedicated layer for your sketch and another for your final linework. Use a brush that mimics a fine liner or a tattoo needle grouping, like a 3RL. Keep your lines delicate; the watercolor should be the star of the show. If you're going for a purely painterly look, keep your sketch layer opacity very low and build your forms entirely with color.
Mastering the Digital Watercolor Wash
The magic of the watercolor tattoo style digital technique lies in the washes. Unlike opaque acrylics or oils, watercolor is all about transparency and layering.
Layering Techniques
Start with a base layer of your lightest colors. In Procreate, use brushes specifically designed for watercolor effects—those that feature wet edges, color bleed, and dilution settings. Apply your strokes lightly, letting the Apple Pencil's pressure sensitivity dictate the flow. Create a new layer for your mid-tones, and another for your darkest shadows. Setting your paint layers to "Multiply" blend mode mimics how real watercolor pigments interact and darken when layered over one another.
Blending and Bleeding
Hard edges are the enemy of realistic watercolor. Use Procreate's Smudge tool paired with a soft watercolor brush to gently pull the edges of your colors outward. You want to create soft gradients where colors bleed into one another naturally. Don't be afraid to let colors mix on the canvas; a blue bleeding into a yellow to create a soft green is exactly what gives watercolor its charm.
Pro Tips for Digital Watercolor
- Embrace imperfections: Real watercolor is unpredictable. Add random splatters, drips, and blooms to make the piece look authentic.
- Use the eraser creatively: Choose a textured brush for your eraser to lift color away, mimicking the technique of dabbing wet paint with a paper towel.
- Lock transparency: When you have a solid wash you like, use Alpha Lock on that layer to add texture or darker pigment only within that specific shape without ruining your edges.
Adding Splash, Splatter, and Drip Effects
What sets a watercolor tattoo apart from a standard watercolor painting is often the dramatic, dynamic splashes of color that break outside the main design. These elements add movement and a modern, edgy feel.
Create a new layer specifically for your splatters. Use scatter brushes or splatter stamps. To make them look integrated rather than just stamped on, use the Smudge tool to soften the base of the drips, making it look as though the paint pooled and ran down the "skin." You can find incredible, ready-to-use splatter brushes in the ProcreateTools app to speed up this process and add instant realism to your workflow.
Color Theory for Watercolor Tattoos
Because watercolor relies on transparency, your color choices are critical. Muddy colors are a common pitfall in both digital and traditional watercolor.
Analogous vs. Complementary
For smooth, harmonious blends, stick to analogous colors (colors next to each other on the color wheel, like blues and purples). If you want high contrast and striking visuals, use complementary colors (opposites on the wheel, like teal and orange), but be careful not to blend them directly together on the same layer, or you'll end up with a murky brown. Keep them on separate layers or leave a buffer zone of lighter wash between them.
FAQ
What are the best Procreate brushes for watercolor tattoos?
The best brushes feature high dilution, wet edges, and texture integration. Look for brush sets specifically labeled for watercolor or ink washes. The ProcreateTools app offers an excellent curated selection of these specialized brushes.
How do I make my digital watercolor look less flat?
Depth comes from contrast and texture. Ensure you are using a paper texture overlay set to Multiply, build your colors in multiple transparent layers rather than one opaque pass, and use the eraser tool with a textured brush to create highlights and varied opacity.
Can I print my digital watercolor designs as actual tattoo stencils?
Yes! To create a stencil, you will need to isolate your linework layer. While the watercolor wash provides the color reference for the artist, the crisp, high-contrast linework layer is what you will print via a thermal copier to apply to the skin.
Creating a beautiful watercolor tattoo style digital masterpiece takes practice, patience, and the right digital assets. By layering transparent colors, utilizing paper textures, and embracing the unpredictable nature of splashes and blooms, you can design artwork that looks ready to be inked. To elevate your digital tattoo designs and expand your toolkit, be sure to check out the ProcreateTools app, where you can download free brushes, textures, and stamps specifically designed to bring your digital art to life.